Rigging Your Silks

This article is designed to be used alongside six Circus Safety & Rigging videos with Mark Gibson from Aerial Edge, Glasgow’s Circus School, and Catherine Knowles, from Community Circus Paisley. There are also two other articles: Selecting Your Silks and Maintaining Your Silks. You’ll find links to everything at the end of this article.
The Silks Series of videos are available for non-members of Circus Rigging & Safety, although we may refer to certain other relevant articles and videos which are in the member's area of the website. Membership is just £5 a month or £50 a year. You can find out more here.
There is also material about Rigging at Home here and Rigging from Truss here which covers rigging for other aerial equipment as well as silks.
Part 2 of 3 in the Silks Series: Rigging Your Silks
There are broadly two different categories of equipment used to attach silks to your rigging point.
- Equipment which is specifically designed for silks.
- Equipment which is designed for other uses (eg climbing), but we now use it for silks.
You should check the Working Load Limit (WLL) and Minimum Breaking Load (MBL) of each attachment, and be sure that you understand the difference between the two. These have been calculated by the manufacturer and will be stamped on the attachment. They are sometimes given in kilo-newtons (1kN = 1 ton) or deca-newtons (1dN = 1kg).
You can find our article about WLL and MBL in Understanding Forces and Factors of Safety article here.
Attachments to tie your silks on
- Figure-eights – also known as rescue-eights, named because they’re made of two circles joined together which look like the number eight. These were initially used for rescuing in climbing and are one of the most common ways to rig silks. These come with and without ‘ears’ on the larger circle to prevent climbing rope from locking during descent. It’s best to use one that has no ears, because the fabric can get caught on them and rip.
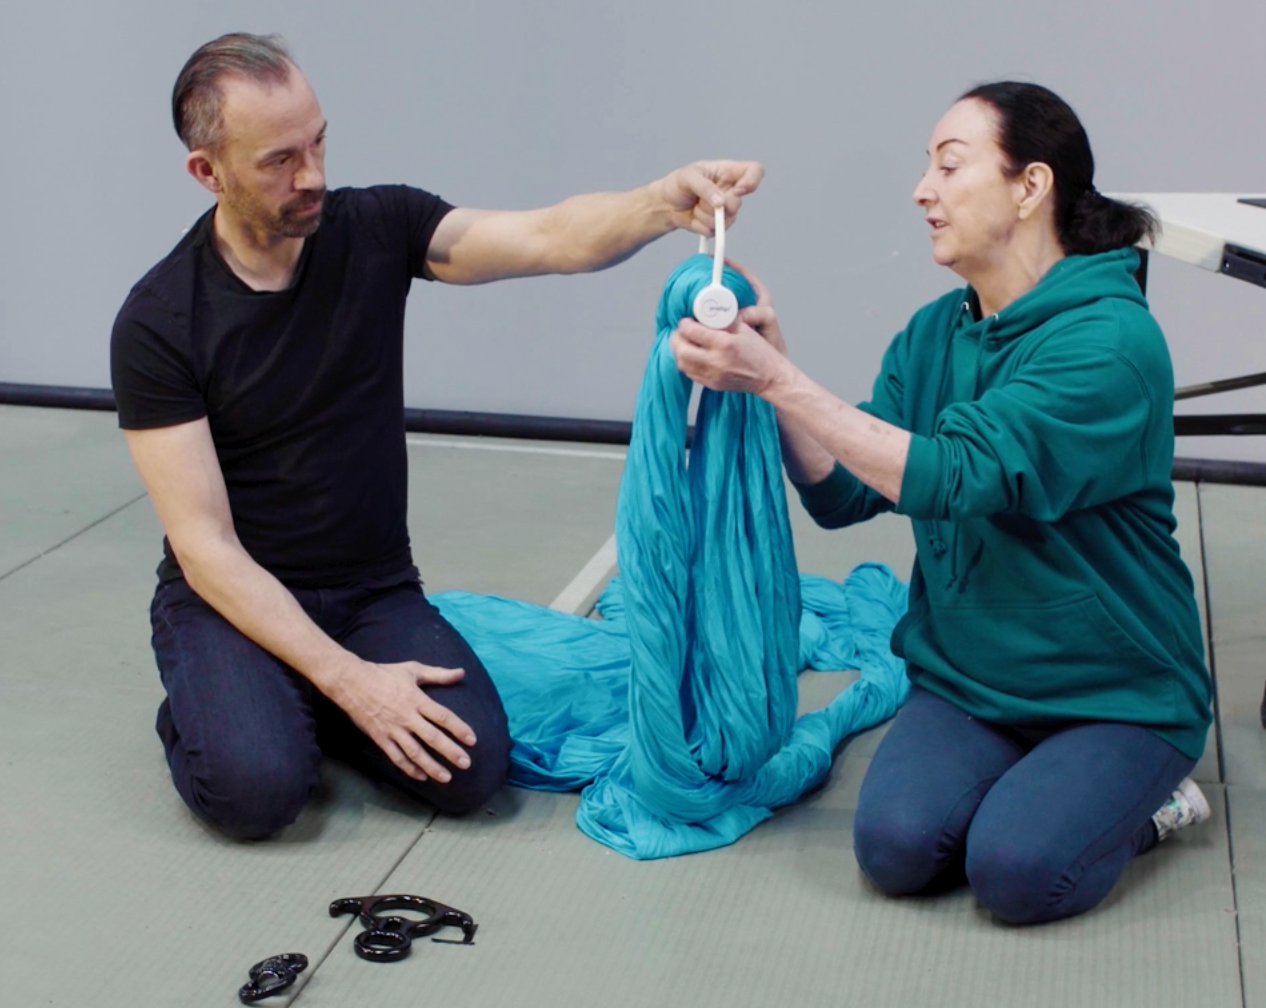
- Silk bells – also known as fabric hooks or fabric bells. They come in different sizes and have been designed with a large surface for the knot to be tied over. Because the pull on the fabric is more evenly distributed, there’s less strain on it, meaning the lifespan of the silks could be longer. They are a little more complicated to rig but easy when you get used to it – check the video to see how it’s done.
- No attachment – you could tie a knot directly on to a section of truss, provided you balance the weight and force properly (see our video and article on rigging from truss). However, you wouldn’t tie a knot over a beam or other piece of wood because rough edges or splinters could easily tear the silks.
Connectors to rig your silks
- Swivels – these come in many configurations. The ones which are two circles with a swivel in the middle to allow each circle to move in different directions will need a karabiner or other attachment at each end, which then attaches to your figure-eight or silk bell. You can also get types with shackles already attached.
- Karabiners – these are not designed to be attached directly to silks and should never be used like that. The fabric would cause three-way loading, and they’re designed to take the load along the major axis only. They’re not designed to take tension on the gate. Also, karabiners don’t have the smooth surfaces required to be connected directly to silks, there are parts which could catch and tear your fabric. Karabiners should be used only to connect silk bells, figure-eights or swivels to each other, or to rigging points.
You can put a sacrificial layer of fabric over a bell, as long as it’s removable so that you can regularly inspect the bell. You can create a sleeve of silks material or Kevlar, anything that won’t cause heat build-up. This can be replaced when it’s worn, to preserve the integrity of your silks material and extend the lifespan. This is harder on a figure-eight because the space is so tight.
Sleeves are also worth considering over karabiners or other hardware to protect your silks, just in case they make contact.
Silks teacher and performer Hannah Khan, from Firetoys, says: “If your knot isn’t neat on a figure-eight, it can catch on a karabiner and rip. Lots of riggers like neatness – it’s not just obsessive tidiness, it’s a skill and there are parts which have an impact on your safety.”
Knots to tie your silks to the attachment
- Prusik knot
- Single clove hitch
- Double clove hitch
Describing knots in writing is almost certainly futile – it’s best to watch to the video to see Catherine and Mark demonstrating how to tie these.
Extending the length of your silks
If your silks are too short for the height of your venue, you do have some options to extend the length from the rigging point. The following attachments are used:
- Round slings (used commonly in the lifting industry and repurposed for circus rigging)
- Climbing slings
- Loop chains made from man-made fibres like climbing sling material
Daisy chains are not recommended – searching YouTube for daisy chain failure should convince you.
Daisy chains and loop chains may look similar but loop chains are stronger. A loop chain is constructed like a metal chain with each ring being independent from the next, and each is individually strength rated. In a daisy chain, all the loops are created from one stretch of material which is sewn on to a backing piece of material at regular intervals. The result is that the link between each of them is much weaker.
Reducing your silks length
You can use the figure-eight as your attachment, and feed the extra fabric through the tails when you tie the knot, then make a daisy chain of knots with the remaining fabric to stop it slipping.
Please refer to the video to see Catherine and Mark demonstrating how to do this.
Rigging a different colour on each side
It really is best to refer to the video to see Catherine and Mark demonstrating how these are knotted and rigged. There are a few stages which are easy to follow when you see them step by step.
You may need:
- Figure-eight
- Climbing sling
- O-ring
Karabiners are not recommended to spread the load of the two silks. If there are two O-rings, for example, going into one karabiner, you would create three-way loading, which it’s not designed for. You have to use something that will spread the load properly, such as:
- Bow shackle
- Rigging plate, also known as a bear paw
- Delta maillon
- O-ring
Always be aware of the WLL and/or MBS on any connector that you are using. You can find our article about WLL and MBL in Understanding Forces and Factors of Safety article here.
Further information
Other videos in the Silks Series:
- Selecting your silks
- Rigging equipment and how to tie a silk
- Alternative silks configurations
- Swivels, slings, loop chains and karabiners
- Rigging Aerial Hammocks (coming soon)
- Inspecting and maintaining silks (coming soon)
Other articles in the Silks Series:
- Part 1 of 3 in the Silks Series: Selecting Your Silks
- Part 3 of 3 in the Silks Series: Maintaining Your Silks (coming soon)
Other information:
- Videos and articles about Rigging at Home here
- Rigging from Truss article here and video here.
- Videos and articles about understanding Forces and Factors of Safety (FoS) in our paid membership area here
- Equipment inspections. There are a number of livestreams and articles. There’s a Guide to Inspection in Circus Rigging here which explains what’s required under the law, and a livestream here which discusses the topic. There’s a livestream on How to do an Inspection here which demonstrates the process on several rigging items, and the corresponding article here, which also explains the two types of inspections. Finally, there’s a livestream on How to Record Inspections here, and the article is here. Downloads of templates here.